


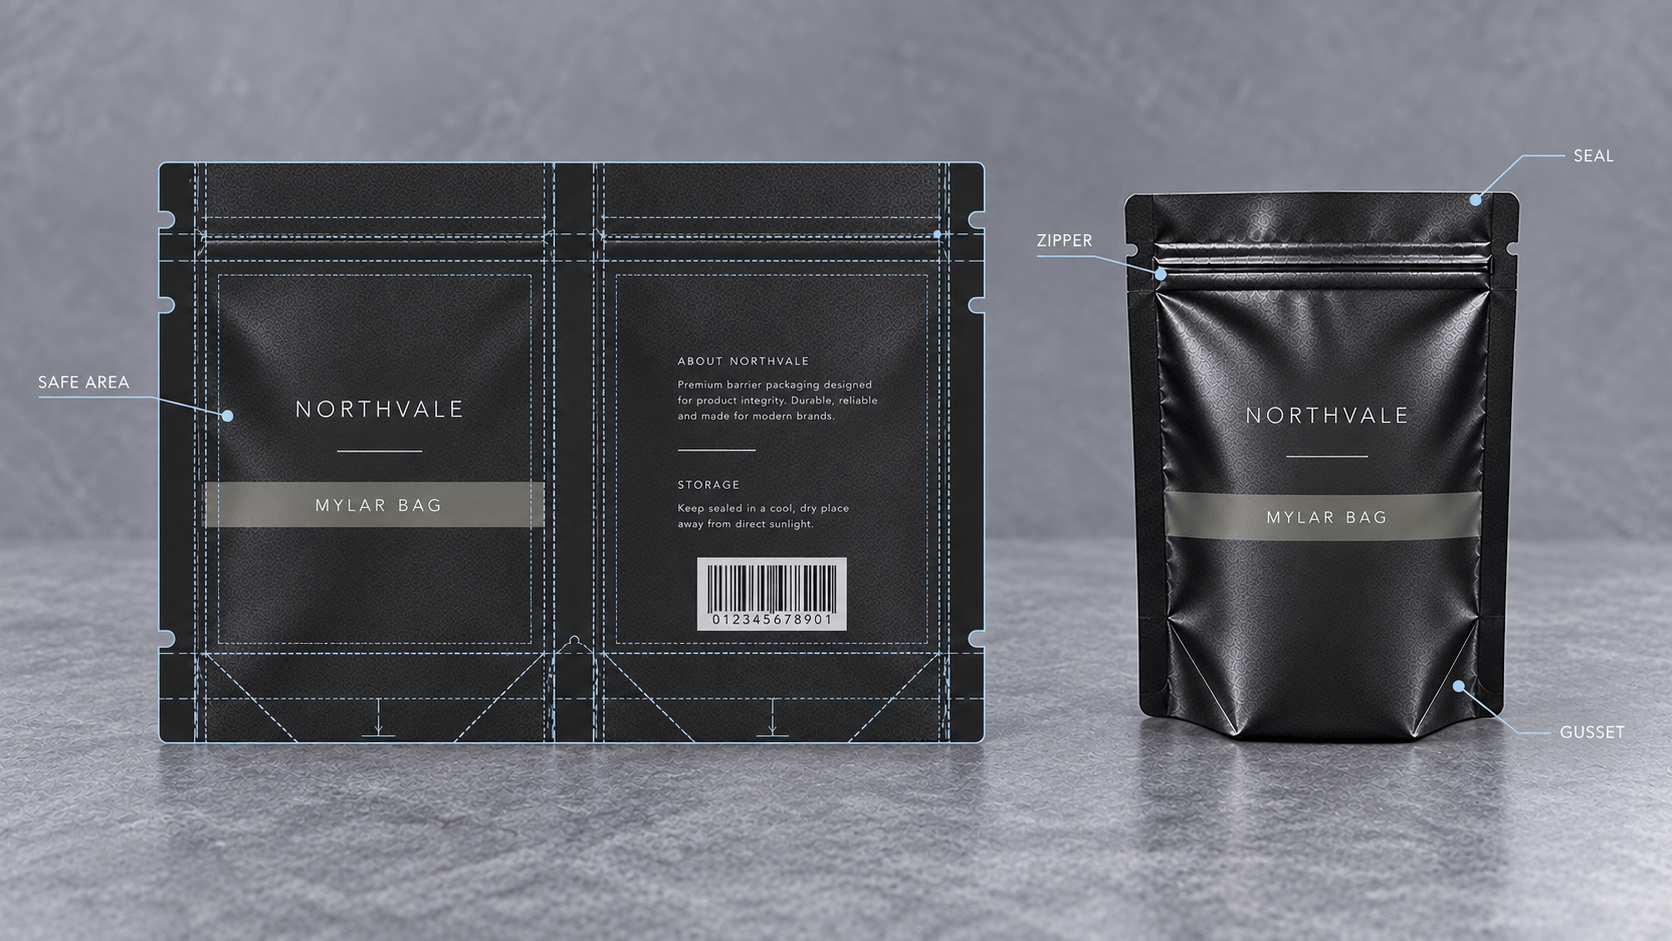
Mylar bags are to be well designed not to be a rectangle on a screen. Seals consume space. Zippers form a utilitarian space. Gussets become swollen, film bounces back light and the stuffed good changes the profile of all the panels. The art that fails to honor such conditions may seem smooth in a mock-up, and fail when applied to an actual bag.
Mylar bag is a generic term, and used widely in the market, however, a buying specification would be more detailed. Mylar is correlated to polyester film and commercial pouches may make use of multilayer structures that are determined based on printing, barrier and sealing. Establish the complete construction with the supplier as opposed to thinking that there is a single material name that determines performance.
Principles 1, 3: Begin With the Dieline.
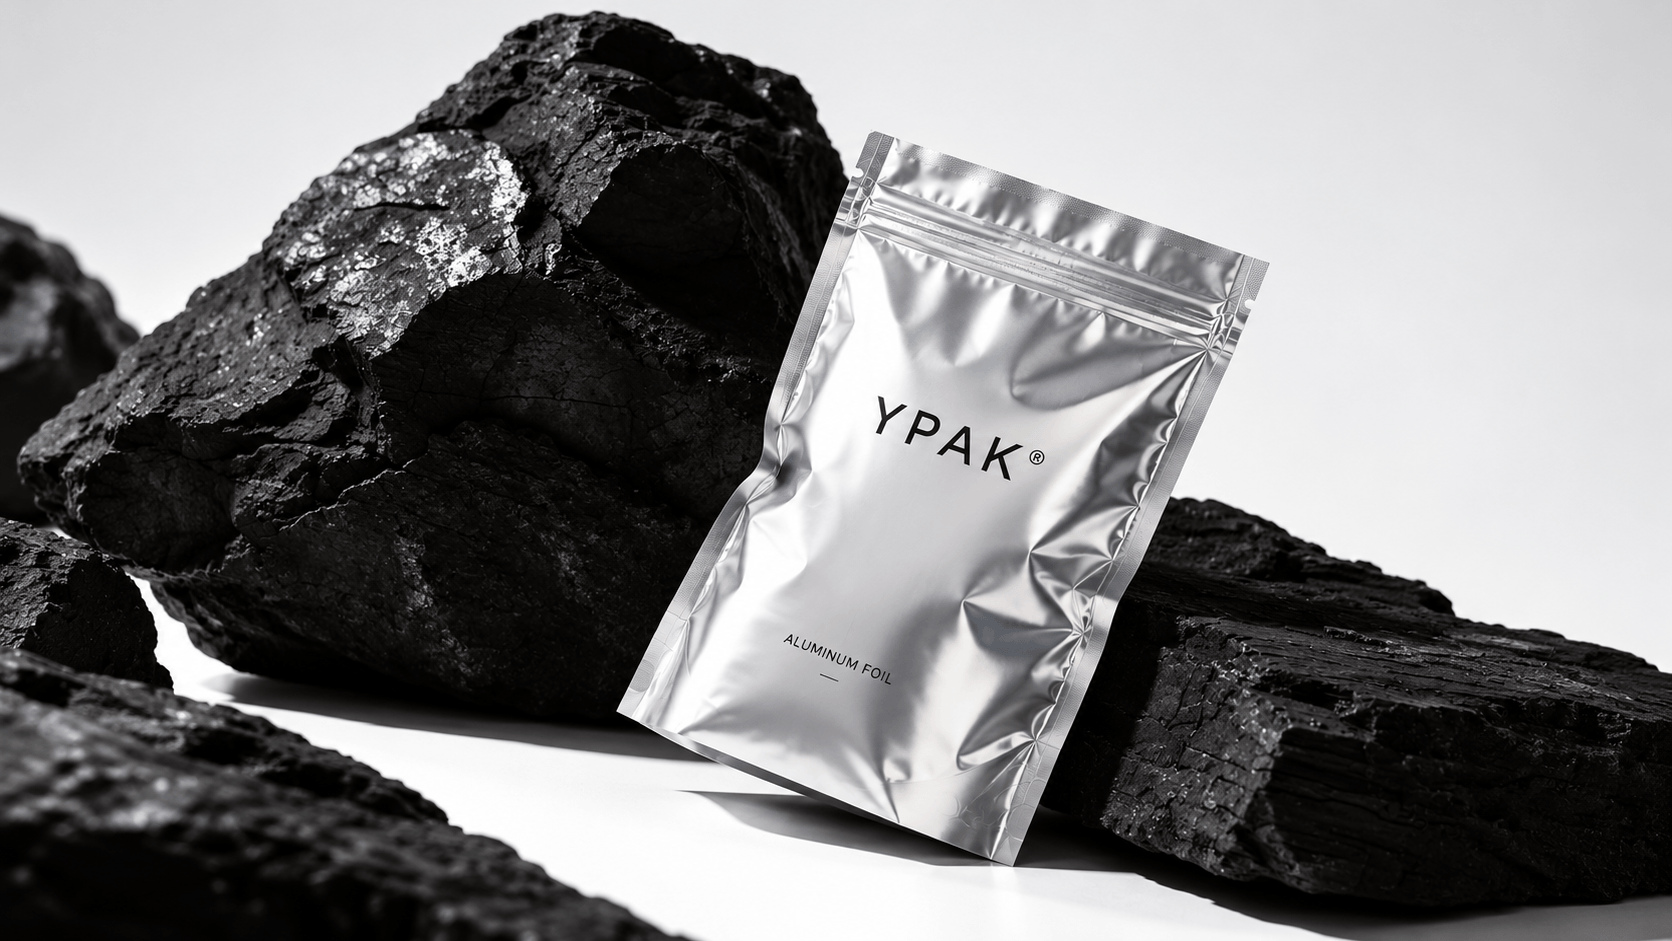
Find the True Front-Facing Area.
The visible shelf face is not equal to the trim size. There is side seals, bottom folds and forming tolerances which minimize the stable graphic area. Ask a production dieline (location of zipper, tear notch, gussets and safe areas).
Honour Seals and practical Hardware.
Do not stick small writings, faces, barcodes or a logo on the top seal or zipper track. Ink is subject to heat and pressure. A notch in a tear is capable of cutting artwork. Provide a good amount of space to enable consumers to view and use the opening feature.
Folds Are to be Critical Content Free.
Gussets may be, though not necessarily are, used to carry secondary information or a planned wraparound graphics, but never an obligatory copy that has to be readable at all times. A fold is dependent on the amount fill, and hence take into account any text deposited on it on a folded sample.
Principles 4 6: Design to Form and Fill.
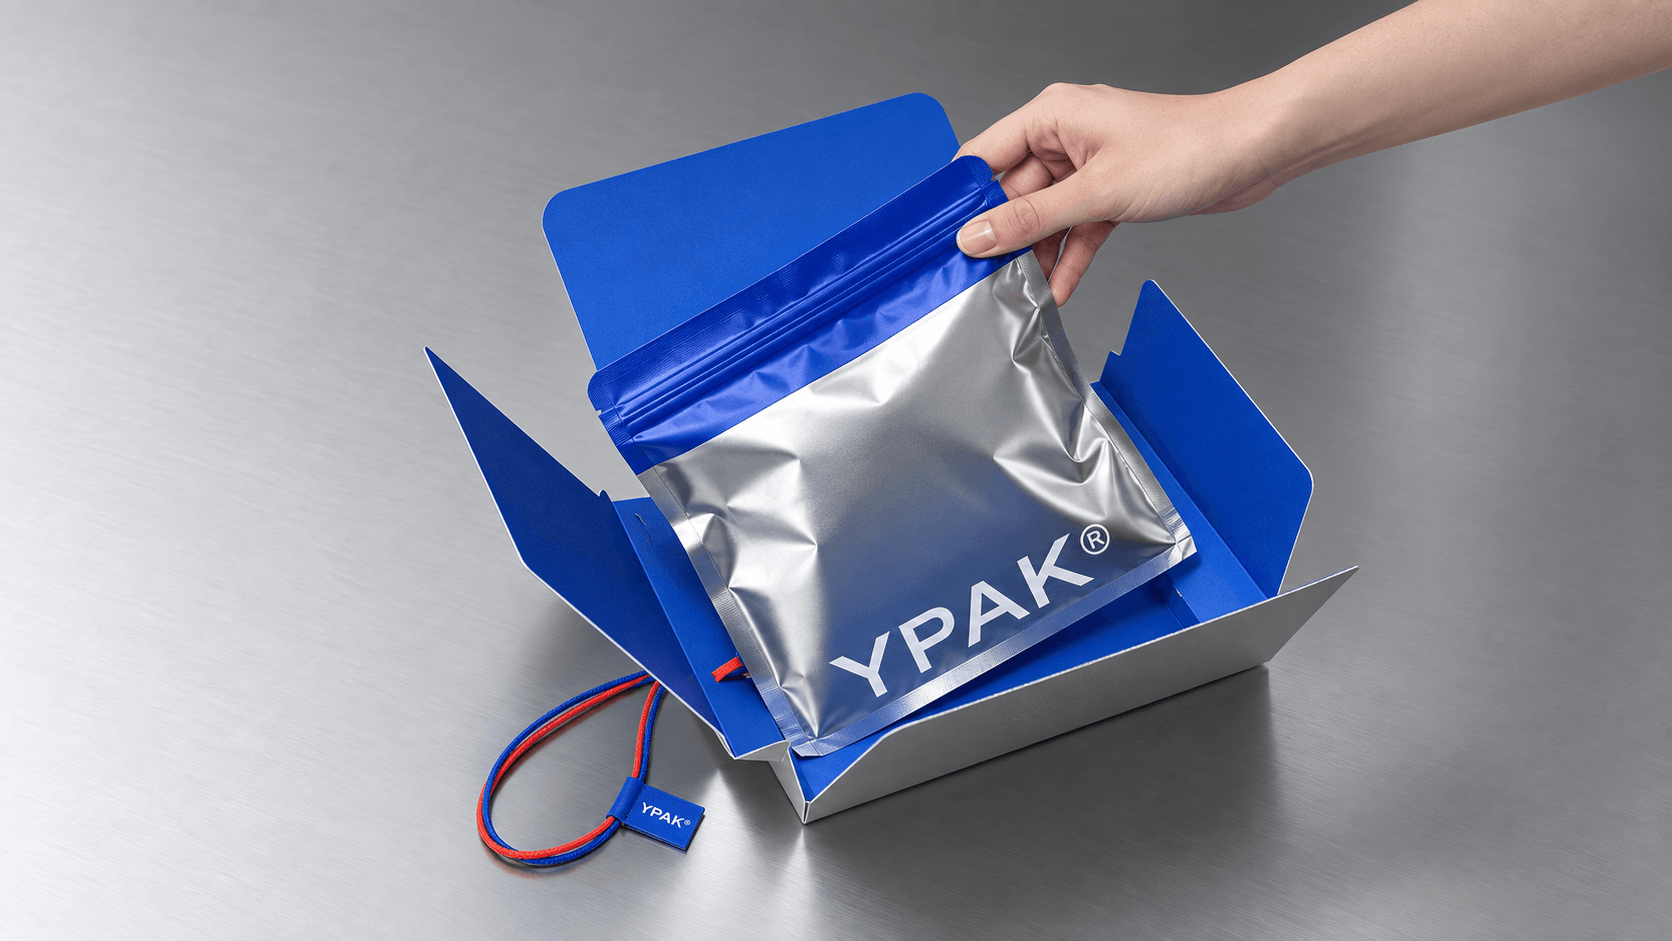
Allow for Gusset Expansion
The lower-most gusset may be pulled downwards and outwards to the front. An image is split into a number of viewing angles by a side gusset. Take orders as to the direction to be folded and experiment with the greatest possible expansion.
Plan around the Fill Level.
The visible geometry is influenced by the product volume. A pouch that contains very little stuff in it can pout; a pouch that contains too much stuff in it can bulge around the front of it and strain the zipper. Position the focal point at position where it is seen at the approved fill as opposed to where it appears to be centered at an empty sample.
Approve the Filled Shape
Make a prototype of a production-representative of the desired product or a realistic volume substitute. Place it, suspend it, pile it and look at it in various positions. The front panel, barcode and opening instructions are supposed to be effective in the state where the customer will be getting the package.
Principles 7-9: Get Ready to Print.
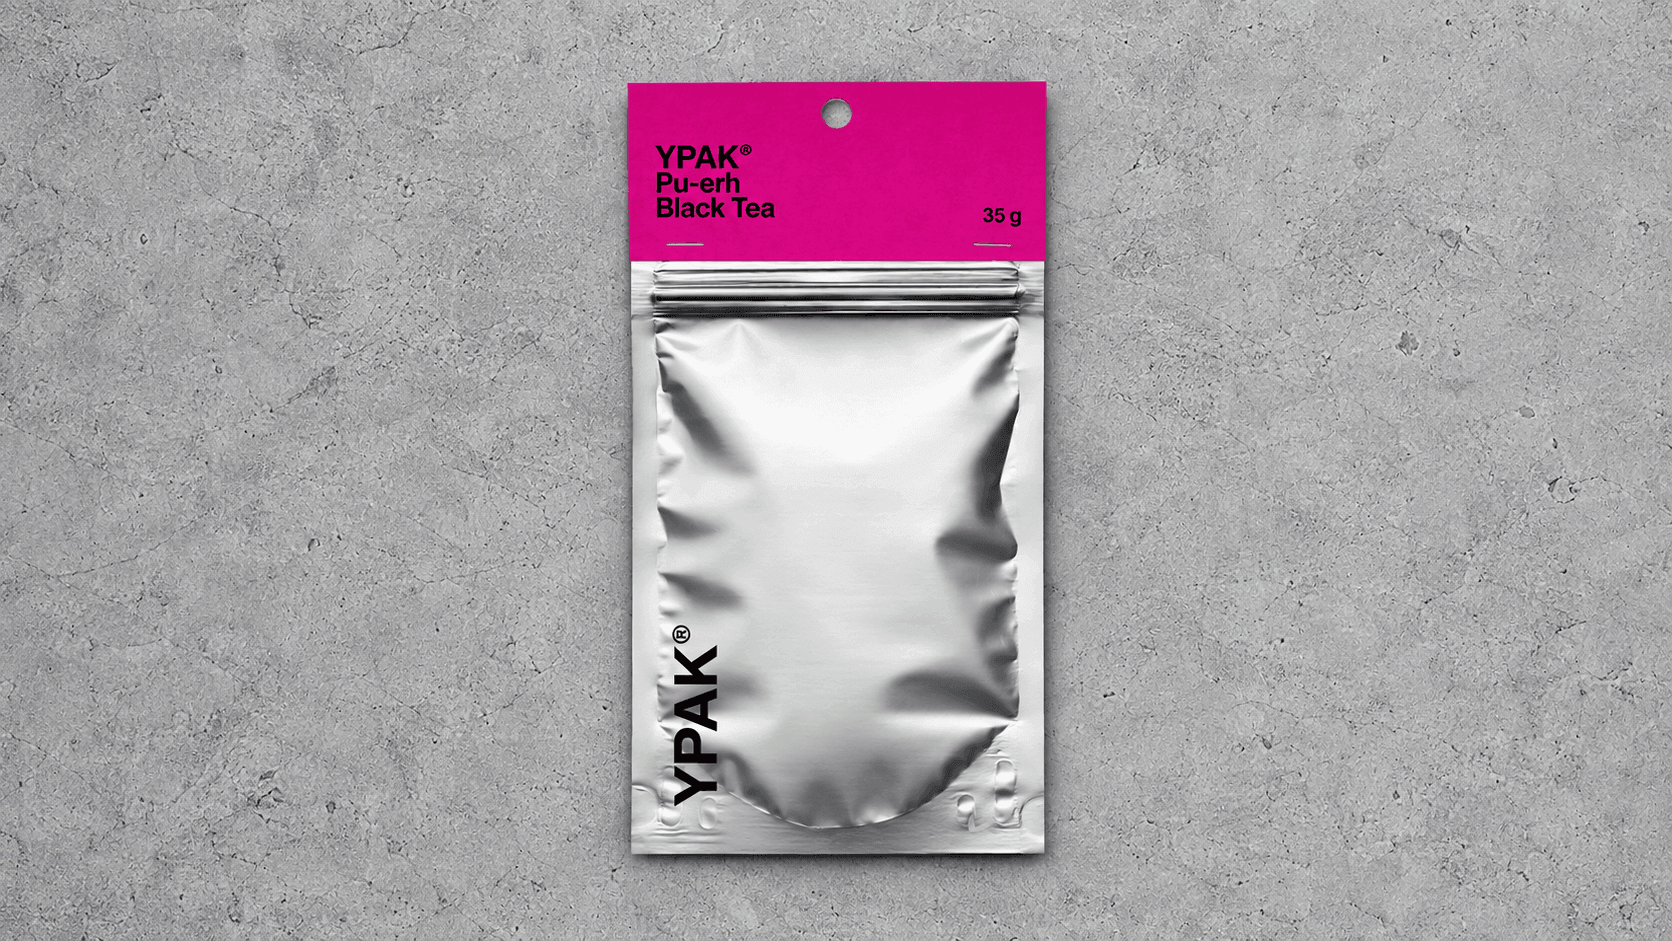
Build File of the print Process chosen.
There are varying set up and economic factors in digital, gravure and flexographic workflows. Utilize the color mode, bleed, resolution and file-format specifications of the supplier. Sort and label fonts and match images with their names. Do not make a low-resolution image on the Internet larger to print.
Control Small and Reversed Type
White type inverted on a dark background is not as forgiving as is dark type on a light field. Registering and ink can move around resulting in small counter being closed. Enter minimums to the process that are production safe and print a hard copy at 100 percent.
Prep White Ink on Clear or Metal Ink.
Ability to control color behavior and ability to control the behavior of the ink is done through white ink. The color when printed on a reflective or transparent base has an appearance change. A white underprint may be used to make a more traditional color field however the material is displayed by the choice of knockouts. Intentional mapping of white layer instead of leaving it to prepress interpretation.
Principles 10-12: Safeguard Production Consistency.
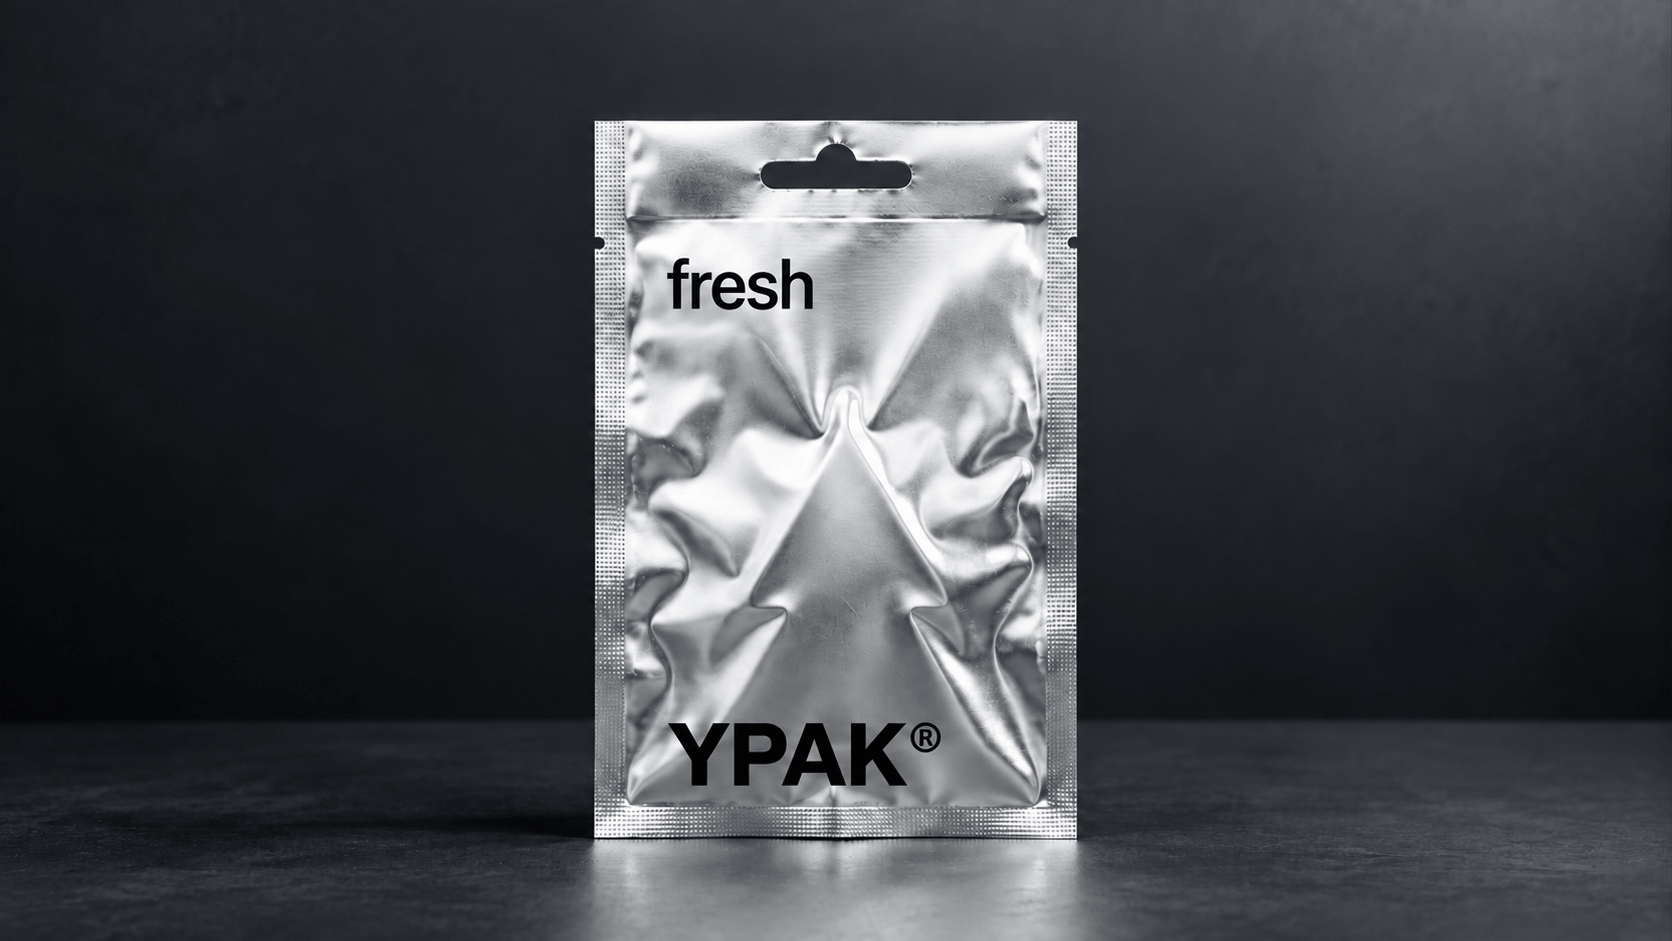
Specify Every Finish
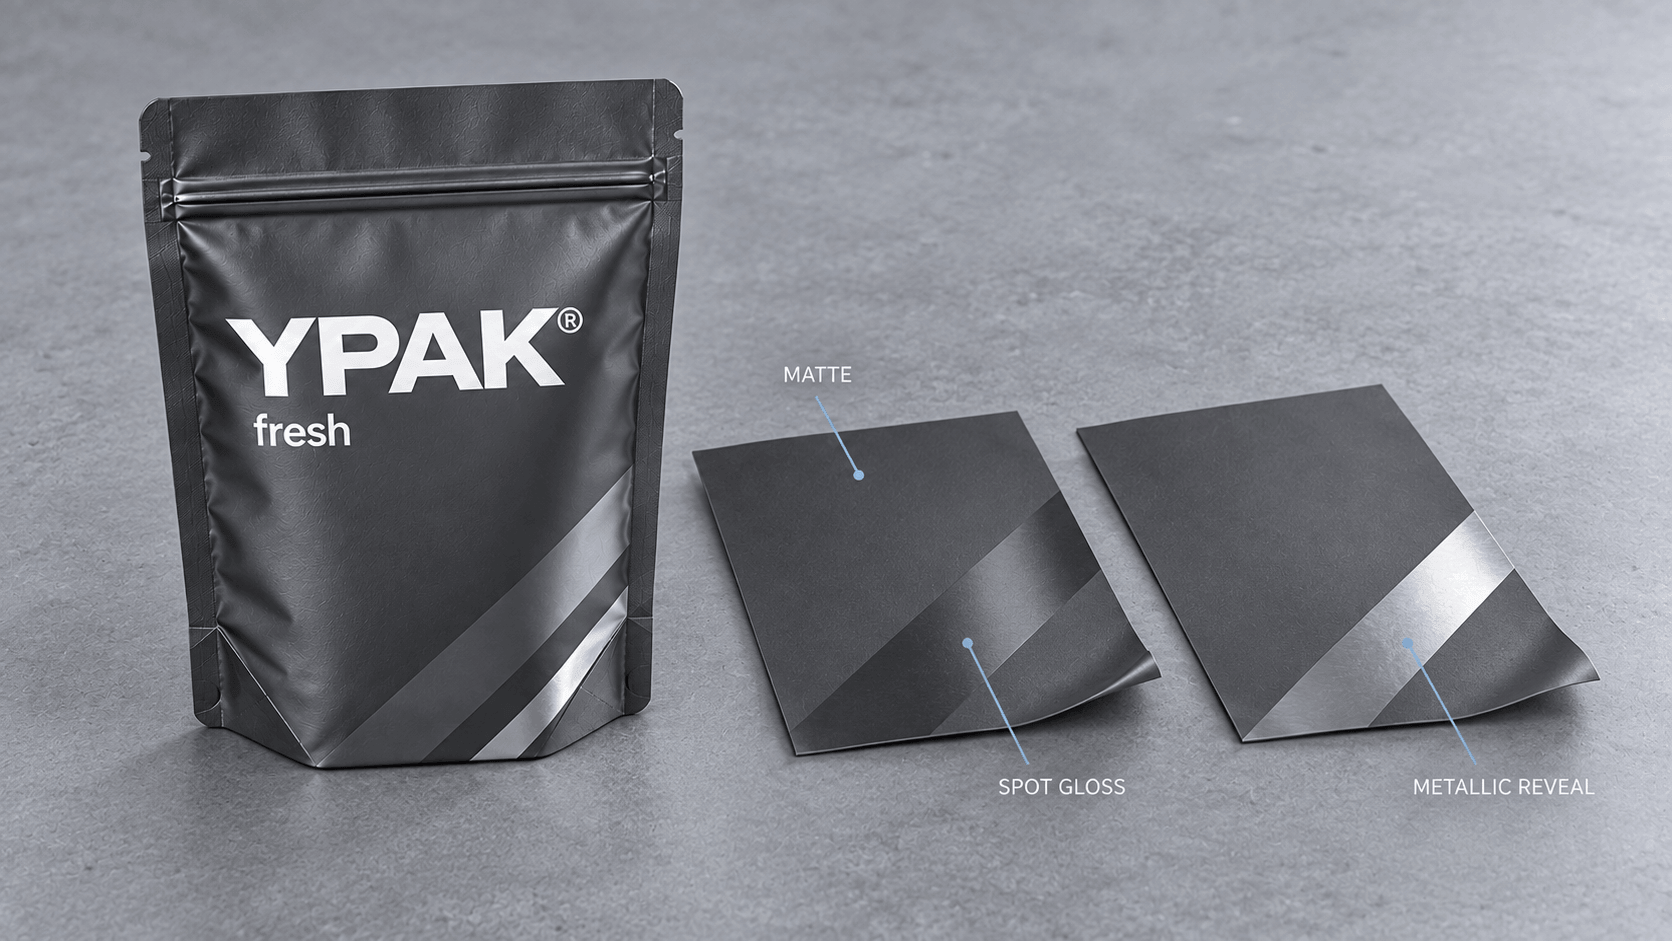
Not a full specification is shiny logo Matte. Spot effects, metal visibility and any tactile treatment, define matte or gloss lamination. Note their limits on the artwork and think of whether they make the text of the regulation or codes less readable.
Work on SKU Rules, Repeatable.
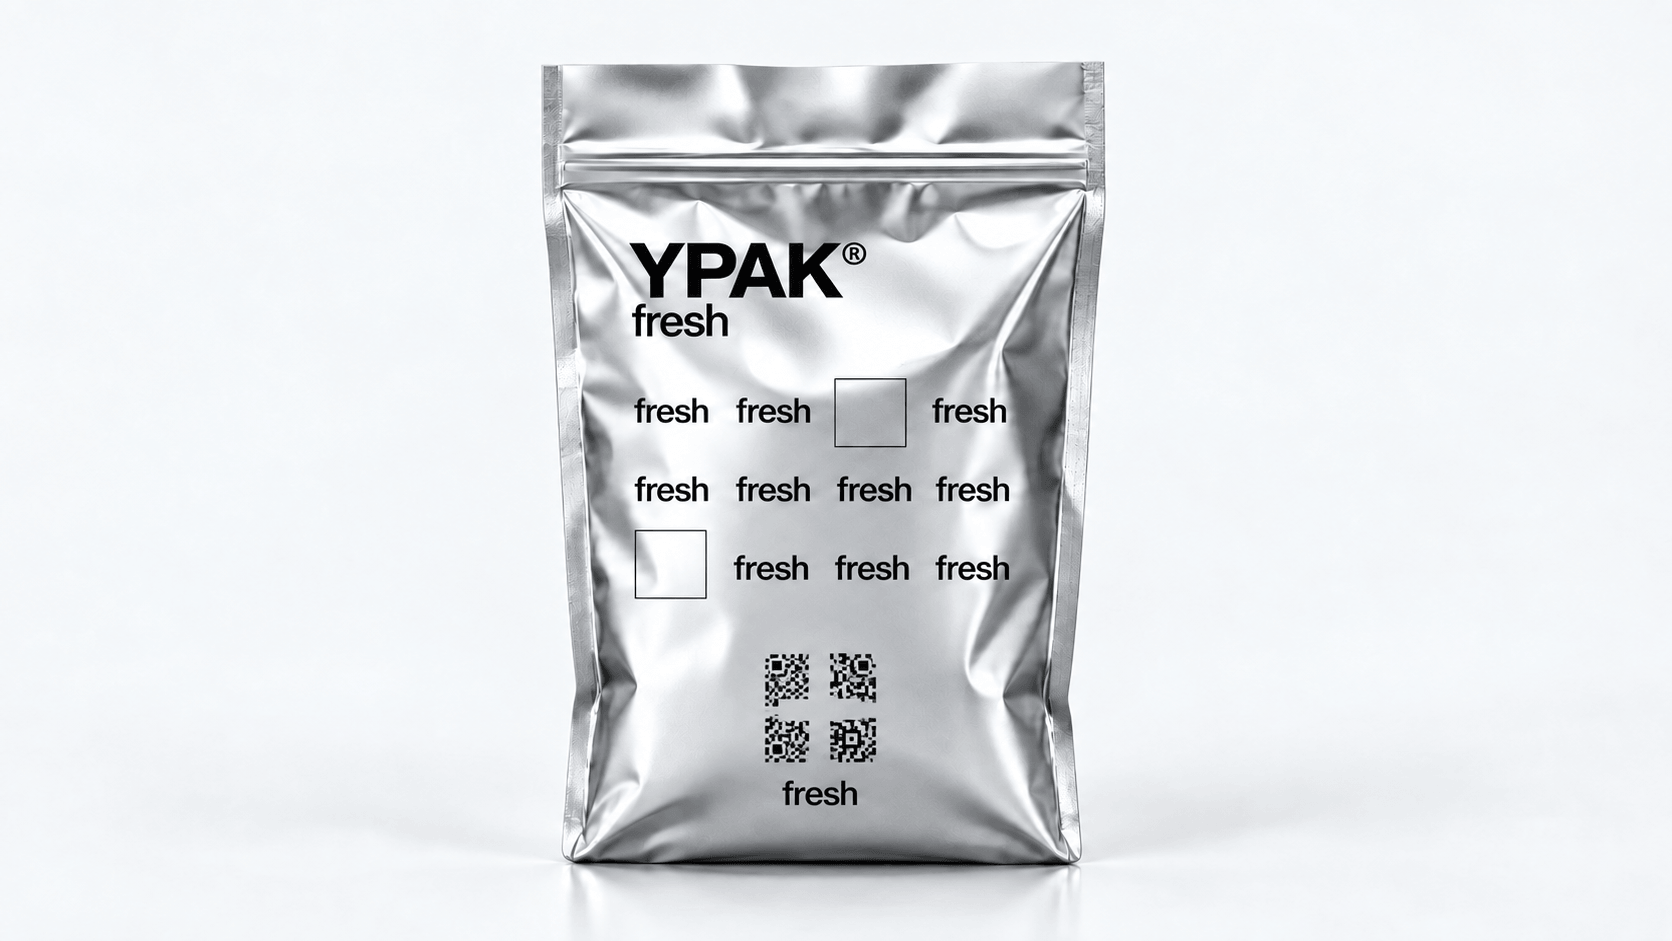
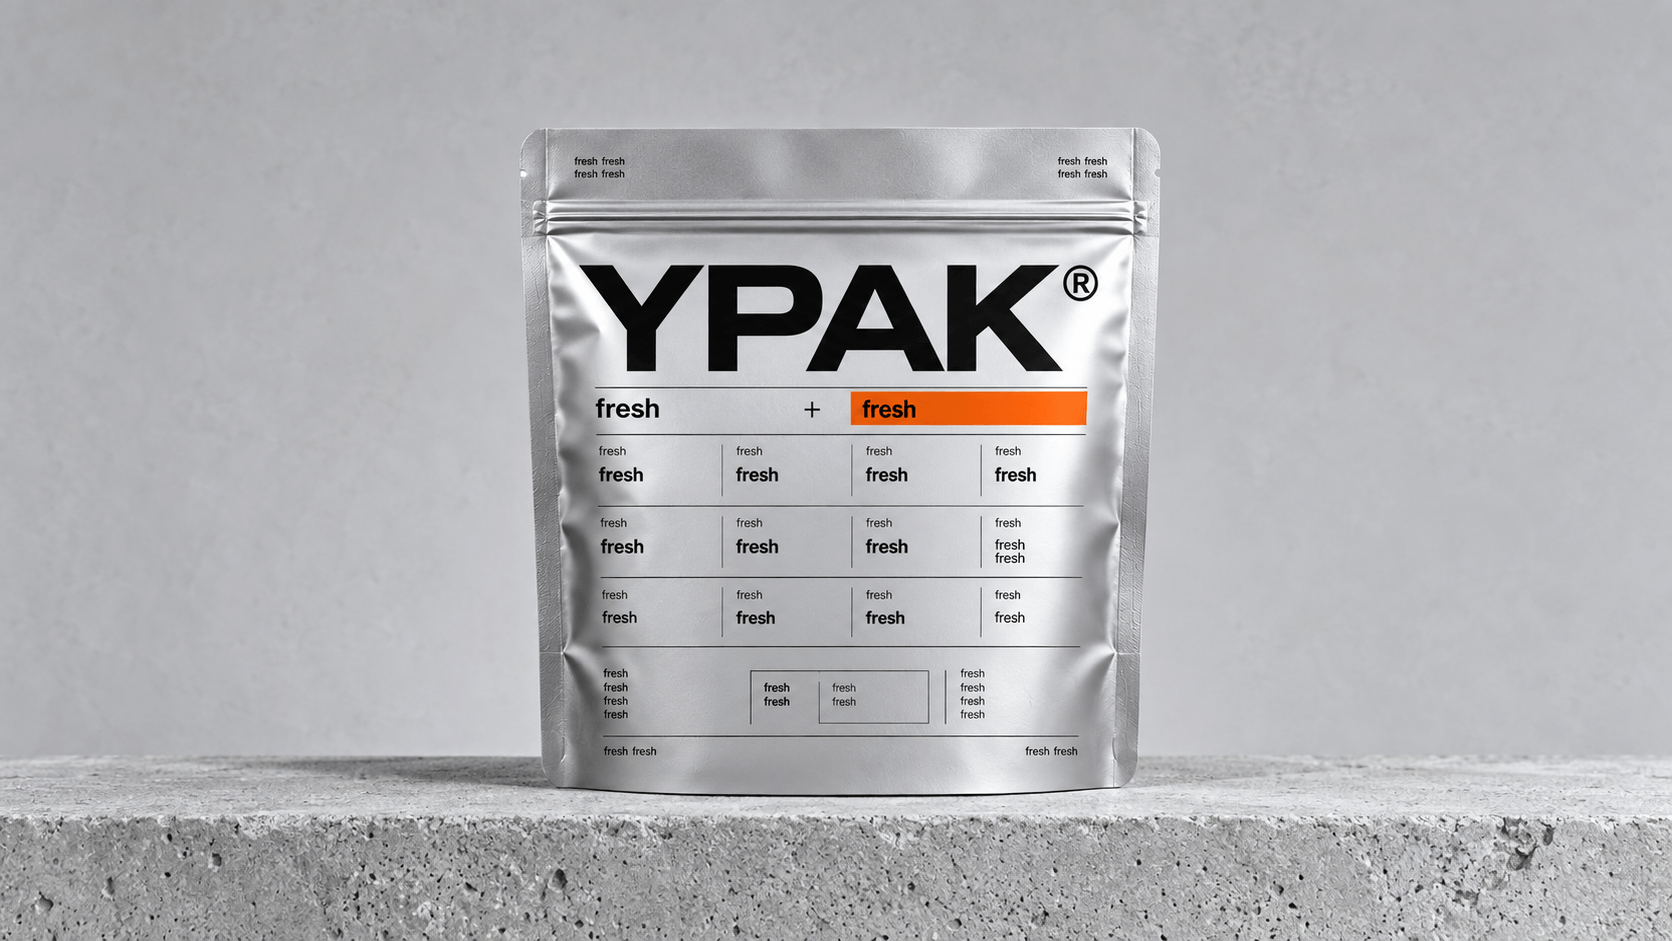
Use a master template with pre-determined seal-safe areas, typography priority, barcode location and revision areas. The variable elements should have a limit in the amount of text and color. This reduces the prepress alterations and enhances the reorders predictability.
Not only accept Physical output.
Light is emitted by monitors; the packaging reflects. Holographic effects, matte coating and dense inks which are made of metals and metal film might not appear the same in print. Evaluate color, opacities, registration and contact with the surface of the right sample or proof before the production run.
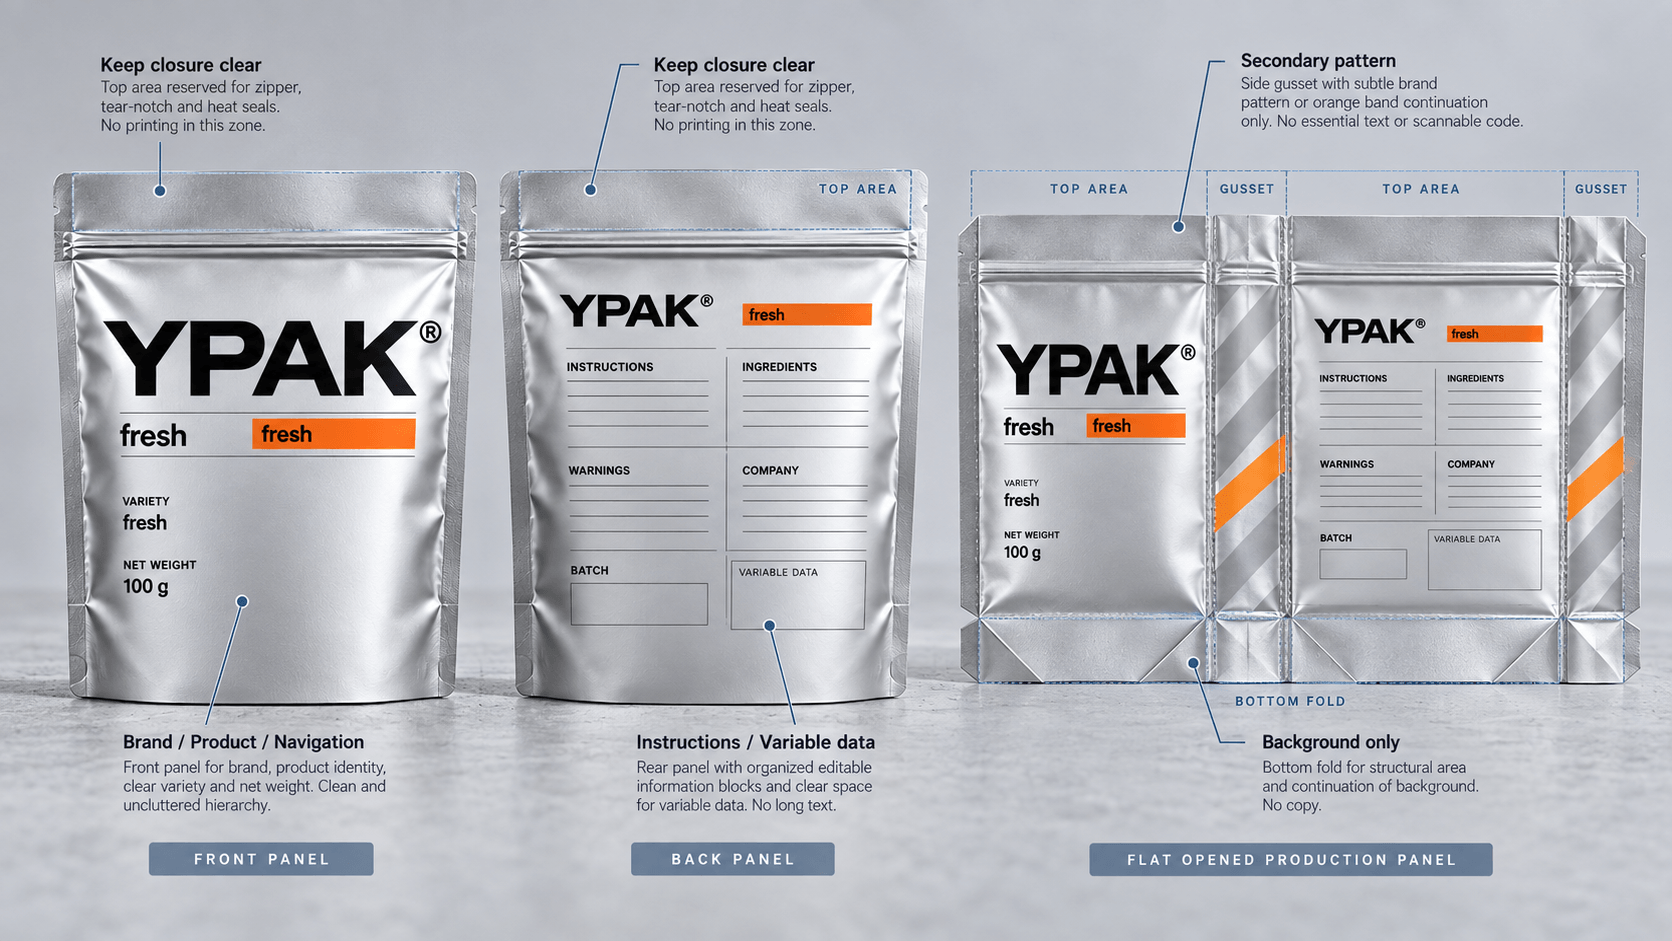
Front, Back, Gusset and Seal-Zone Content Map
|
Area |
Suitable Content |
Content to Avoid |
|
Front panel |
Brand, product identity, key navigation and necessary front information. |
Wordy explanations and unproven assertions. |
|
Back panel |
Instruction, ingredients, warning-data, company and variable-data area. |
Huge pictures that do not permit updates. |
|
Gusset |
Secondary patterns of brands or unimpeative data. |
Small text and scannable codes that are mandatory. |
|
Top area |
Clues and guided visual space. |
Information over zipper, notch or heat seal. |
|
Bottom fold |
Intentional background continuation |
Large copy observable in case the bag is empty. |
The way appearance of materials alters artwork.
Transparent film allows unbacked colors to be affected by the product. White film gives a blank medium of print. The metallized film is very reflective and can be used to provide selective metallic effects by means of white-ink knockouts. Kraft-look surfaces have the ability to blur color and to decrease fine detail contrast. Matte finishes lessen glare and gloss reflects more colour and glare.
Choose the visual substrate considering the needs of products protection and sealing. The looks cannot be divided to the entire laminate. Something that has been chosen due to its natural appearance might not give the required protection or print quality.
Prepress File Handoff Workflow.
1. verify the size, pouch structure, pouch closure and pouch dieline of production. 2. Lock needs to indicate the information that will be a variable. 3. Build artwork, white ink and finish level on supplier naming regulations. 4. Checks: run spell, barcode, link, image-resolution and overprint. 5. Export requested production file without scaling. 6. Compare with approved copy deck. 7. Accept physical sample: behavior of material or finish is important. 8. Save the file that has been released under a different revision number.
Mylar Bag Artwork Checklist
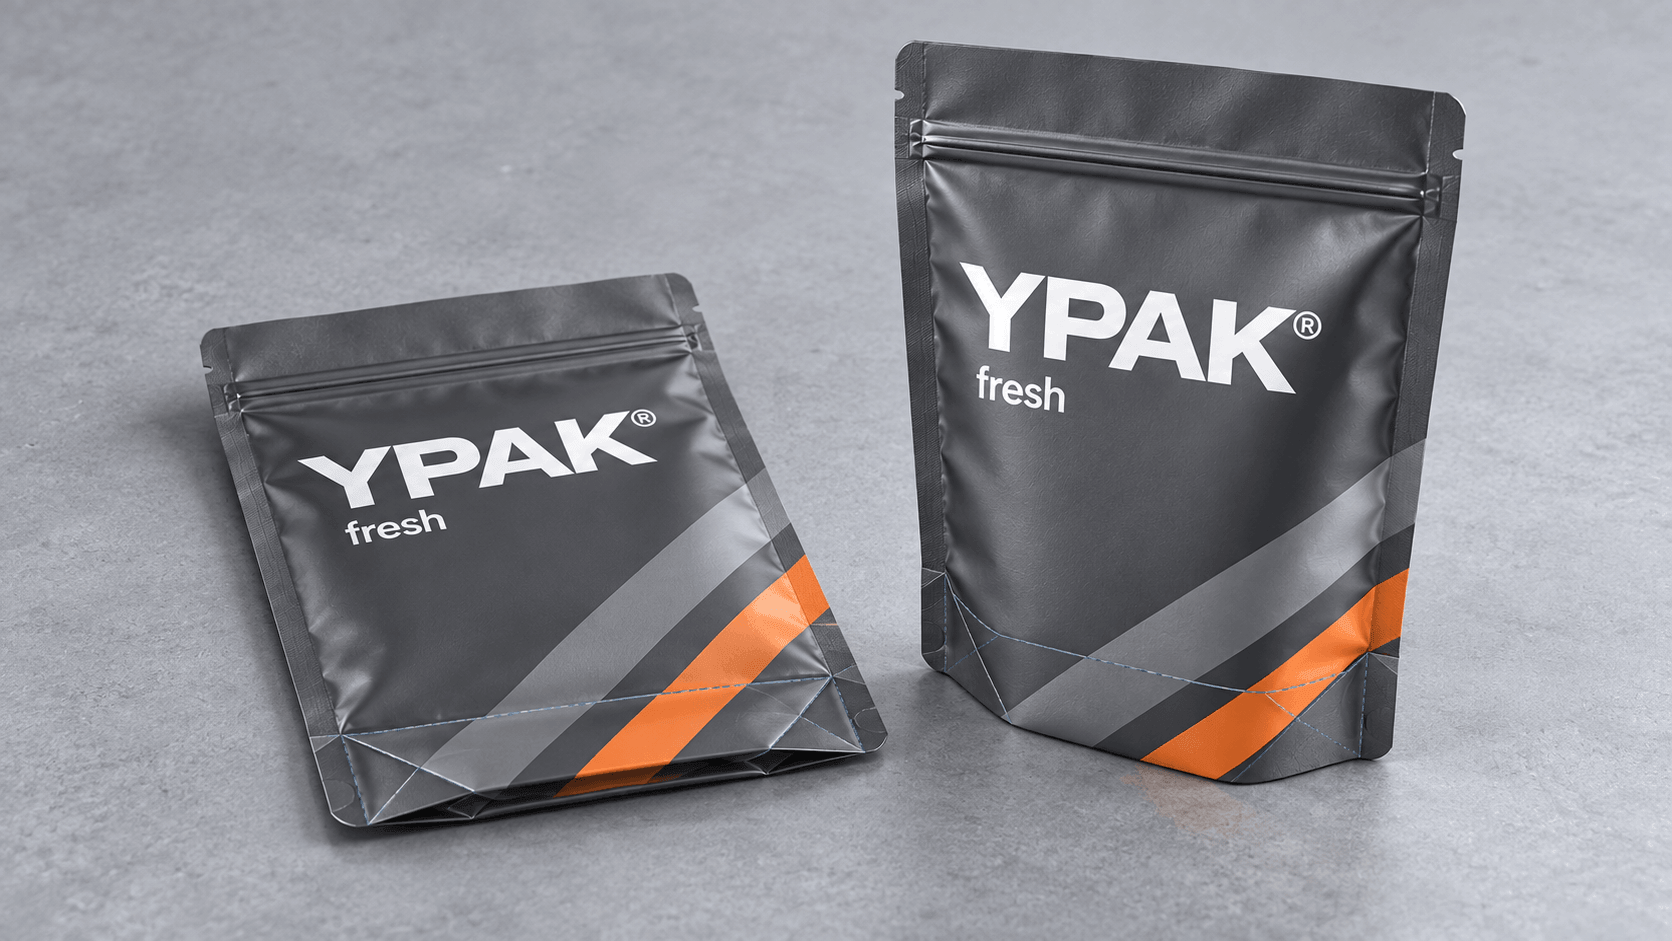
Proper dieline and final size.
Safe and bleed zones used.
areas sacred: seal, zipper, notch and gusset.
Spot colors and colors mode definite.
Fins and coats of white ink and finish neatly marked.
There is adequate good resolution of images.
Referencing resources and fonts are completed.
On target surface barcode and QR code tested.
Final size check of text to be printed.
As part of final approval, filled, shaped pouch.
Frequently Asked Questions
Does a mylar bag have to be made out of a single film?
No. Laminated multi-layered structure is used in the printing, barrier and heat sealing of most commercial pouches. Ask to get the entire specification of the desired product.
Is it possible to cover gusset with artwork?
Yes, when the design is foreseeing folds and expansion. Keep vital information in flat and convenient locations and rehearse the acquired pouch.
Why not is monitor the same as a printed color?
Printing involves the usage of ink, substrate, white underprint, finish and lighting. Physical sample and a calibrated proof is more evidence as compared to a screen image.
Draw the Design of the Production Line.
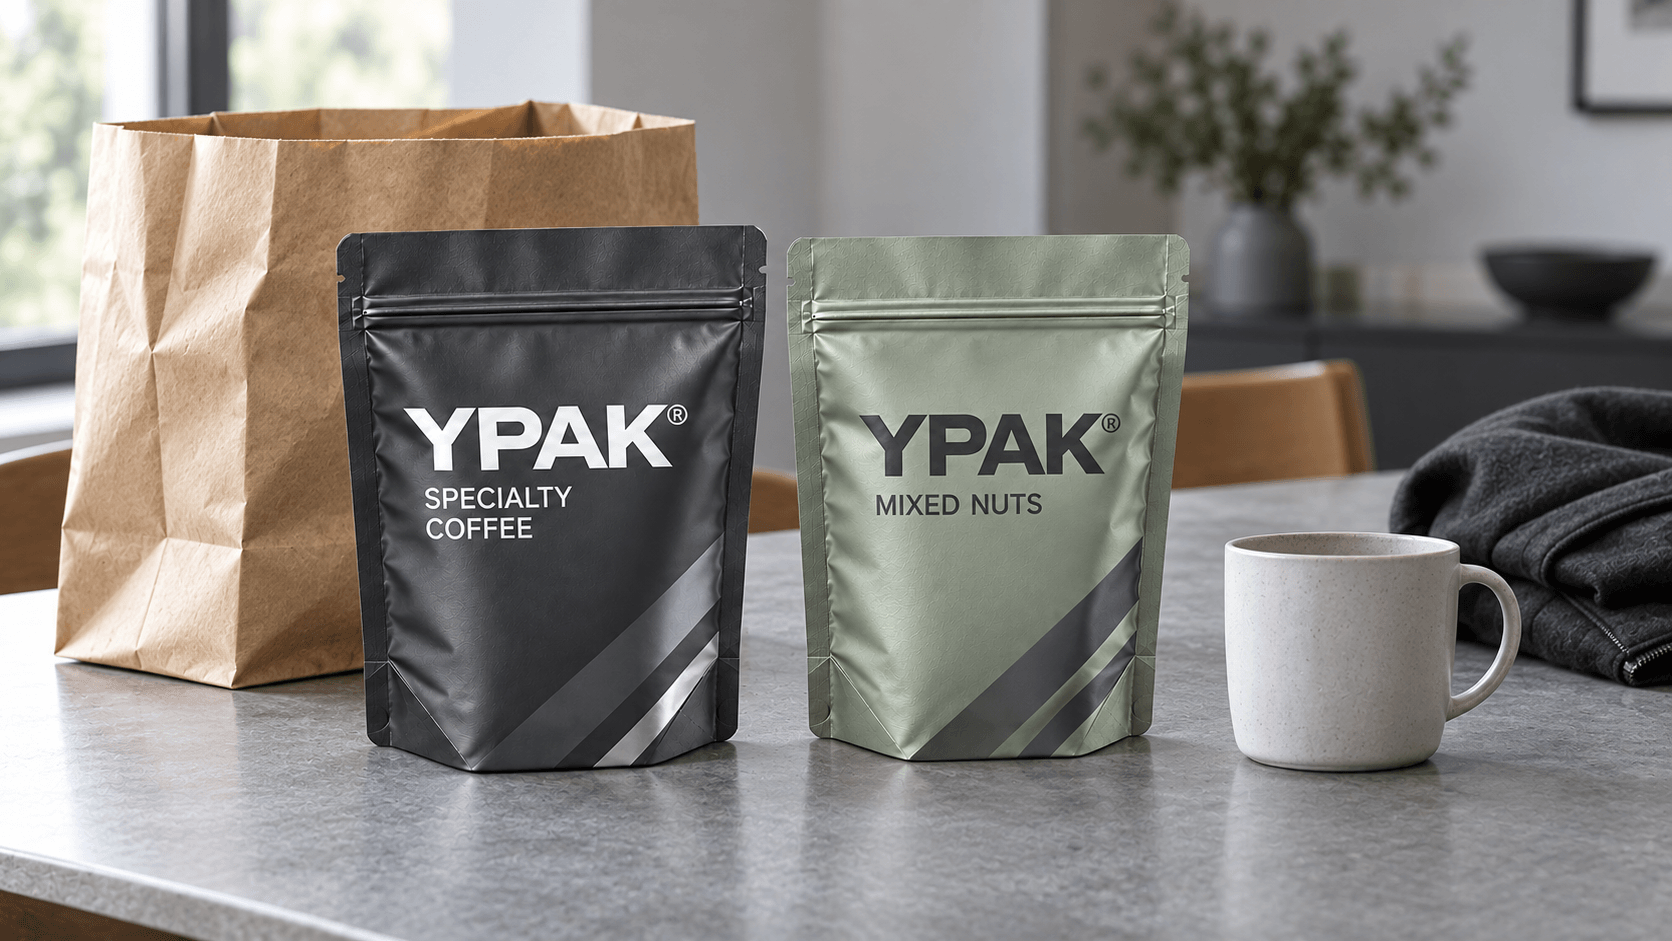
Send the product, fill volume, type of pouch and approved copy and requested visual effects to YPAK. We are able to provide a production dieline and help to equate the artwork to the material, printing and forming requirements.
CTA: Prepare a Production-Ready Mylar Bag Dieline
Related page: Review YPAK Custom Packaging Options
Post time: Oct-14-2026


